unfortunately I've lost some pics of the Weaver Widow tutorial due to some HDD existence failure - but oh well, I hope you'll take something from it. And a small tip from me: always back up your data. I can't stress this enough. At least mirror all important files two times locally (on separate external drives) and once online. Then you can rest assured if something happens, you won't lose it all.
But onto the widow, one of the creepier sculpts I've seen so far in the world of Malifaux.
1. The prep
I started out using my Dremel to shave the contours of the shape of the dress of the mini into a premade resin base, so that it would be flush with the surface. For this, I used a sanding tool. which came with the Dremel set I purchased.

Easy and steady is the trick here, not to take to much off in one go. When I was satisfied with the fit I moved on.

For a secure fit, I used three pins in the bottom of the mini, so it would sit nice and safe.

I again used the Dremel to widen the holes for the arms, so that I could add some green stuff when I would assemble the mini.

I then mounted all the parts and got ready for painting.

2. The painting
I started out by priming the mini with Vallejos Polyurethane Grey Primer, as I wanted a neutral tone for my mini.

For the next steps, I made a small clip from the videos I could save:
As for the next steps:
I basecoated the skin areas with black for a high contrast.
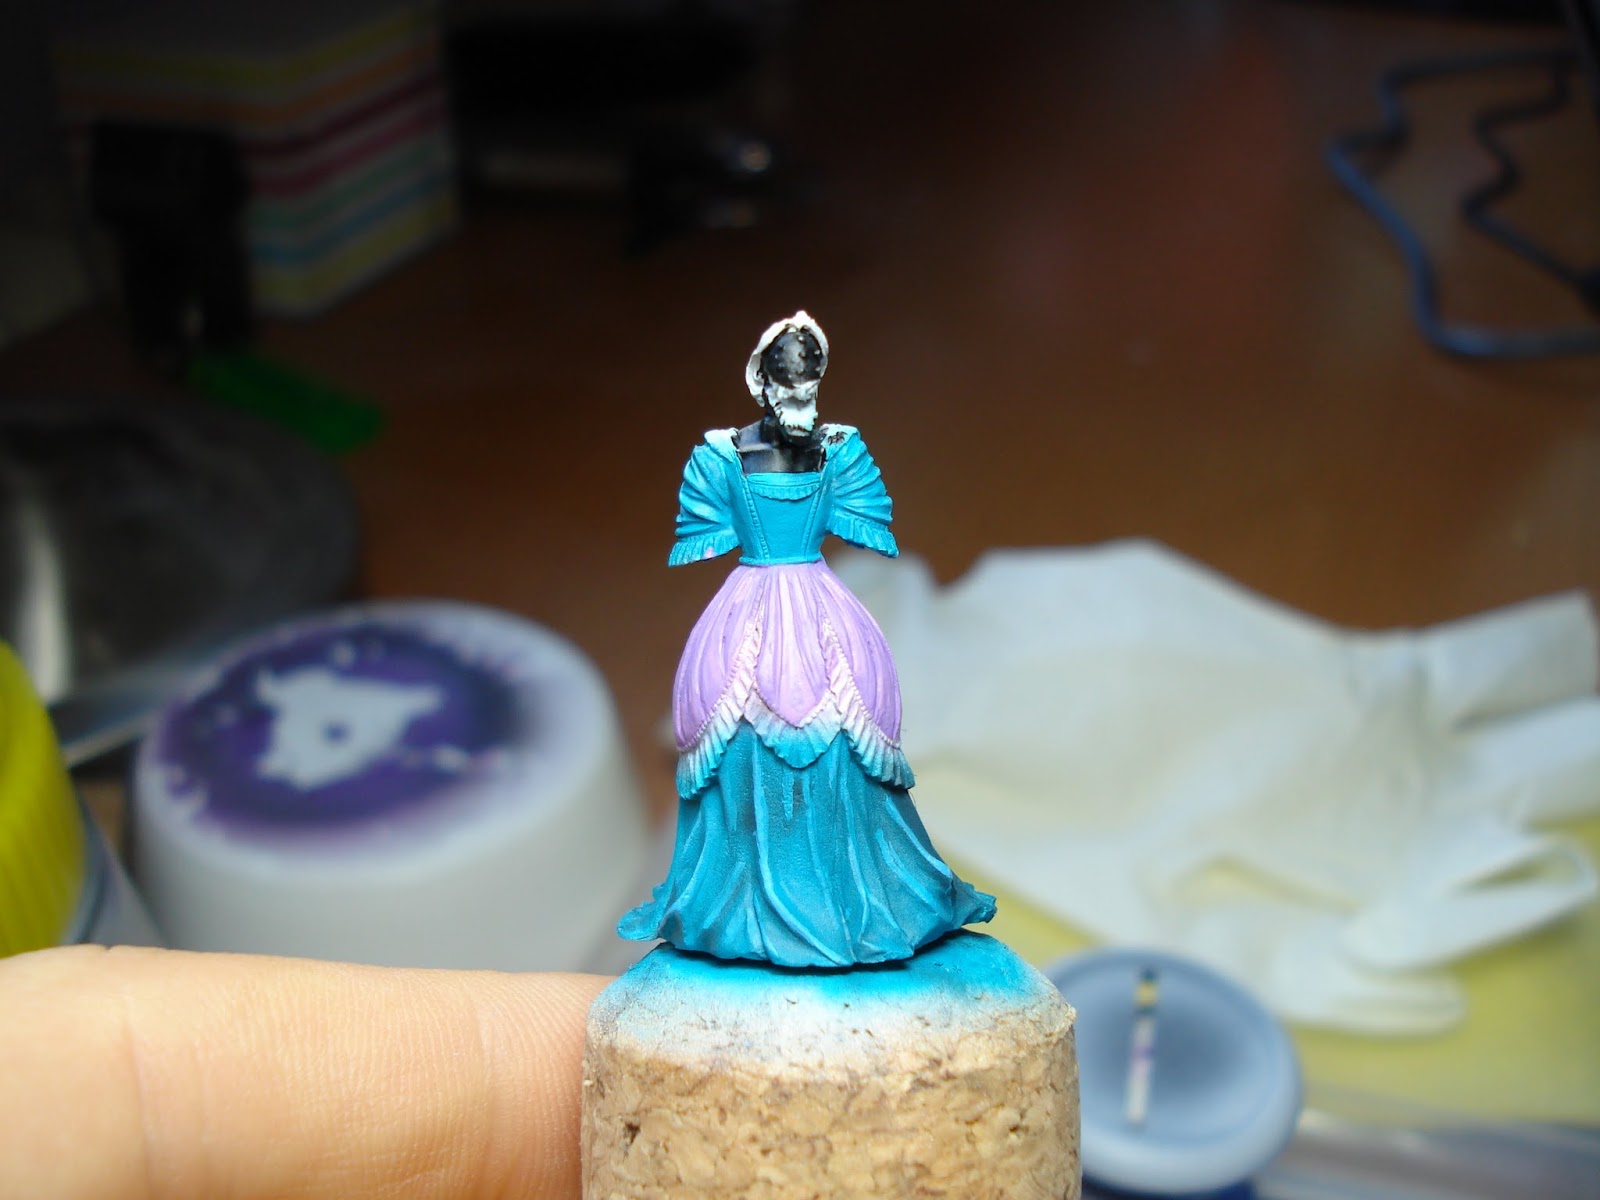
Then I painted the borders of the dress with a 1:1 mix of VGC Squid Pink and VGC Hexed Lichen.

The small accents on the dress where painted with VMV Ivory and the whole mini was given an oil wash with a very light grey, to bring out the details without toning the model down too much.

And now for some final shots of the model:


The painting on this one was very fun, but the assembly was a pain in the butt - the arms I only got on by using a combination of green stuff and superglue, so you can imagine how difficult it was.
For a final touch, I varnished the model with Matte Varnish and then gave the skin areas a coat of Satin Varnish, to make them appear chitin like.
I hope you like it,
Cheers!