A blog about my Warmachine and Malifaux forces,
and all other painting and hobby related subjects.
Enjoy and have fun, comments and criticism are always welcome!
As with my Thunderhead Heavy Character Warjack, the assembly of Ol'Rowdy was quite difficult, compared to the Warmachine models I built up to this point. So I wanted to take my time in building this hunking piece of metal. I even did my first little conversion work on this one, which turned out really good in my opinion.
One piece of advice when assembling such a large figure:
ALWAYS DRY FIT ALL PARTS BEFORE APPLYING THE GLUE!
This saves you much hassle in the long run, trust me...
I started out with washing all the pieces in warm and soapy water to remove all the mould release agent and removing all the mould lines from the model with my hobby knife.
it's been a while, since I posted my last step by step. But as I've been busy painting for the last few weeks, I was able to finish a few figures. So you can expect a few more painting tutorials in the future.
I'll be kicking this off with my Stormsmith Storm Tower, which was very fun to paint.
today I wanted to show you, how I clean and maintain my Iwata HP-C Plus. For this, I differentiate between two cleaning processes: Basic and Thorough. Also quite important is the part about proper maintenance, so your airbrush will perform correctly.
I even edited my first Youtube video for this post, because the process is easier to show then to explain: enjoy:
1. Basic Airbrush Cleaning
If you use a brush to wipe down the paint cup, be careful not to press to hard, as the metal ferule of the brush can scratch the inside of the paintcup.
2. Thorough Airbrush Cleaning
But what to do, when your brush really is gunked up and needs special attention? You basically have two options here, both of which include disassembling your airbrush.
My airbrush completely dis-assembled
You either can clean all the parts by hand, or use an ultrasonic cleaner. This thing really is something else. After a 7 minute cleaning cycle you can see all the tiny paint particles, which where deep inside your brush.
The ultrasonic cleaner at work
After the cleaning is done, rinse all the parts with clean water, so any residue of paint or cleaning solution will be gone. Just be careful, not to lose any of the parts, especially the nozzle.
When you're finished, just put all the parts on a piece of kitchen roll, so they can dry completely.
Drying out and ready for maintenance
3. Airbrush Maintenance
An airbrush is a precision tool. You'll need to take good care of it, if you're expecting it to perform perfectly every time you use it.
I've noticed, that the trigger mechanism of my airbrush was getting a bit harder to pull, after I used the ultrasonic cleaner for the first time. This is because the cleaner removes not only the leftover paint, but also the lube inside of the airbrush. So you'll need to get a replacement lube, if you plan on using an airbrush. My choice was Ballistol, a German brand of cleaning oil, famous for it's use in gun-maintenance. I just sprayed a few tiny bursts of oil onto all the moving parts prior to assembly. For a final touch, I used the piece of kitchen towel which had some of the oil left on it, to carefully lube the needle, so that the whole mechanism was ready.
All the moving parts of the airbrush.
And it worked like a charm. The trigger was moving beautifully and all the little hitches were gone. Now you just need to re-assemble the airbrush and you are good to go.
The airbrush after cleaning and maintenance - good as new!
as I worked on my Cygnar forces for a while now, I had ample opportunity to shade cloth. In this time, I tried out many different techniques, which I wanted to share with you. I will be covering layering, washing, airbrushing and using dry pigments in this article.
most of my free time this March was spent playing Mass Effect 3 - great game with an anticlimactic ending, but still one of the best story-telling experiences in video games I've seen for a long time. Unfortunately, this cut into my painting time quite a bit, but I still got some things done.
My update for March 2012:
Purchased
Lieutenant Allister Caine - Cygnar Warcaster
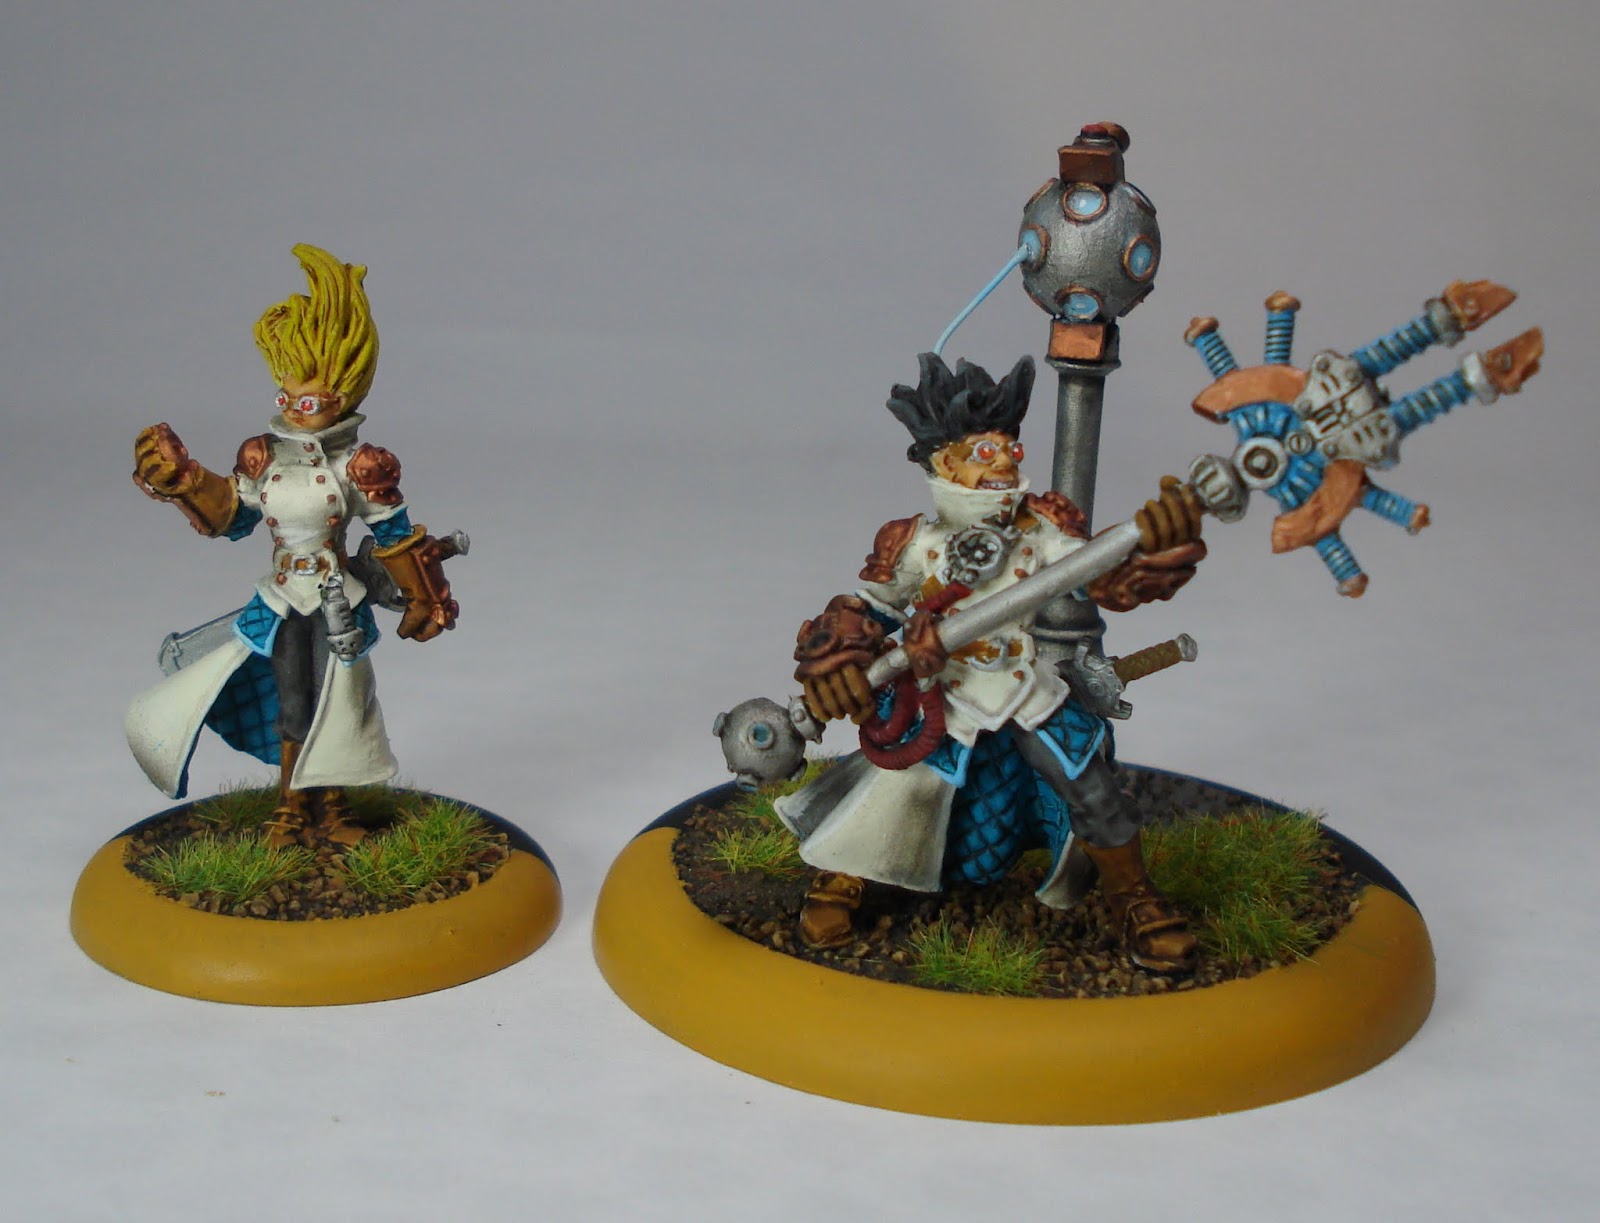
Captain Arlan Strangewayes, Arcane Mechanik - Cygnar Solo
Field Mechanics - Cygnar Unit Blister
Assembled
Work in Progress
Ol' Rowdy - Cygnar Character Heavy Warjack
Storm Strider - Cygnar Battle Engine
Finished Miniatures
Commander Coleman Stryker - Cygnar Warcaster
The Black 13th Gun Mage Strike Team - Cygnar Character Unit
Stormguard - Cygnar Unit
Hunter - Cygnar Light Warjack
Journeyman - Cygnar Solo
Charger - Cygnar Light Warjack
Cyclone - Cygnar Heavy Warjack
Defender / Triumph - Cygnar Heavy / Character Warjack