Showing posts with label Cygnar. Show all posts

Saturday, August 11, 2012

Progress Report: Juli 2012


Hey guys!

The move is done (still a lot to do, but my hobby area is finished). So here you go, my Progress Report for Juli 2012.


WARMACHINE


Purchased


  • Field Mechanics - Cygnar Unit Blister


Assembled


Work in Progress


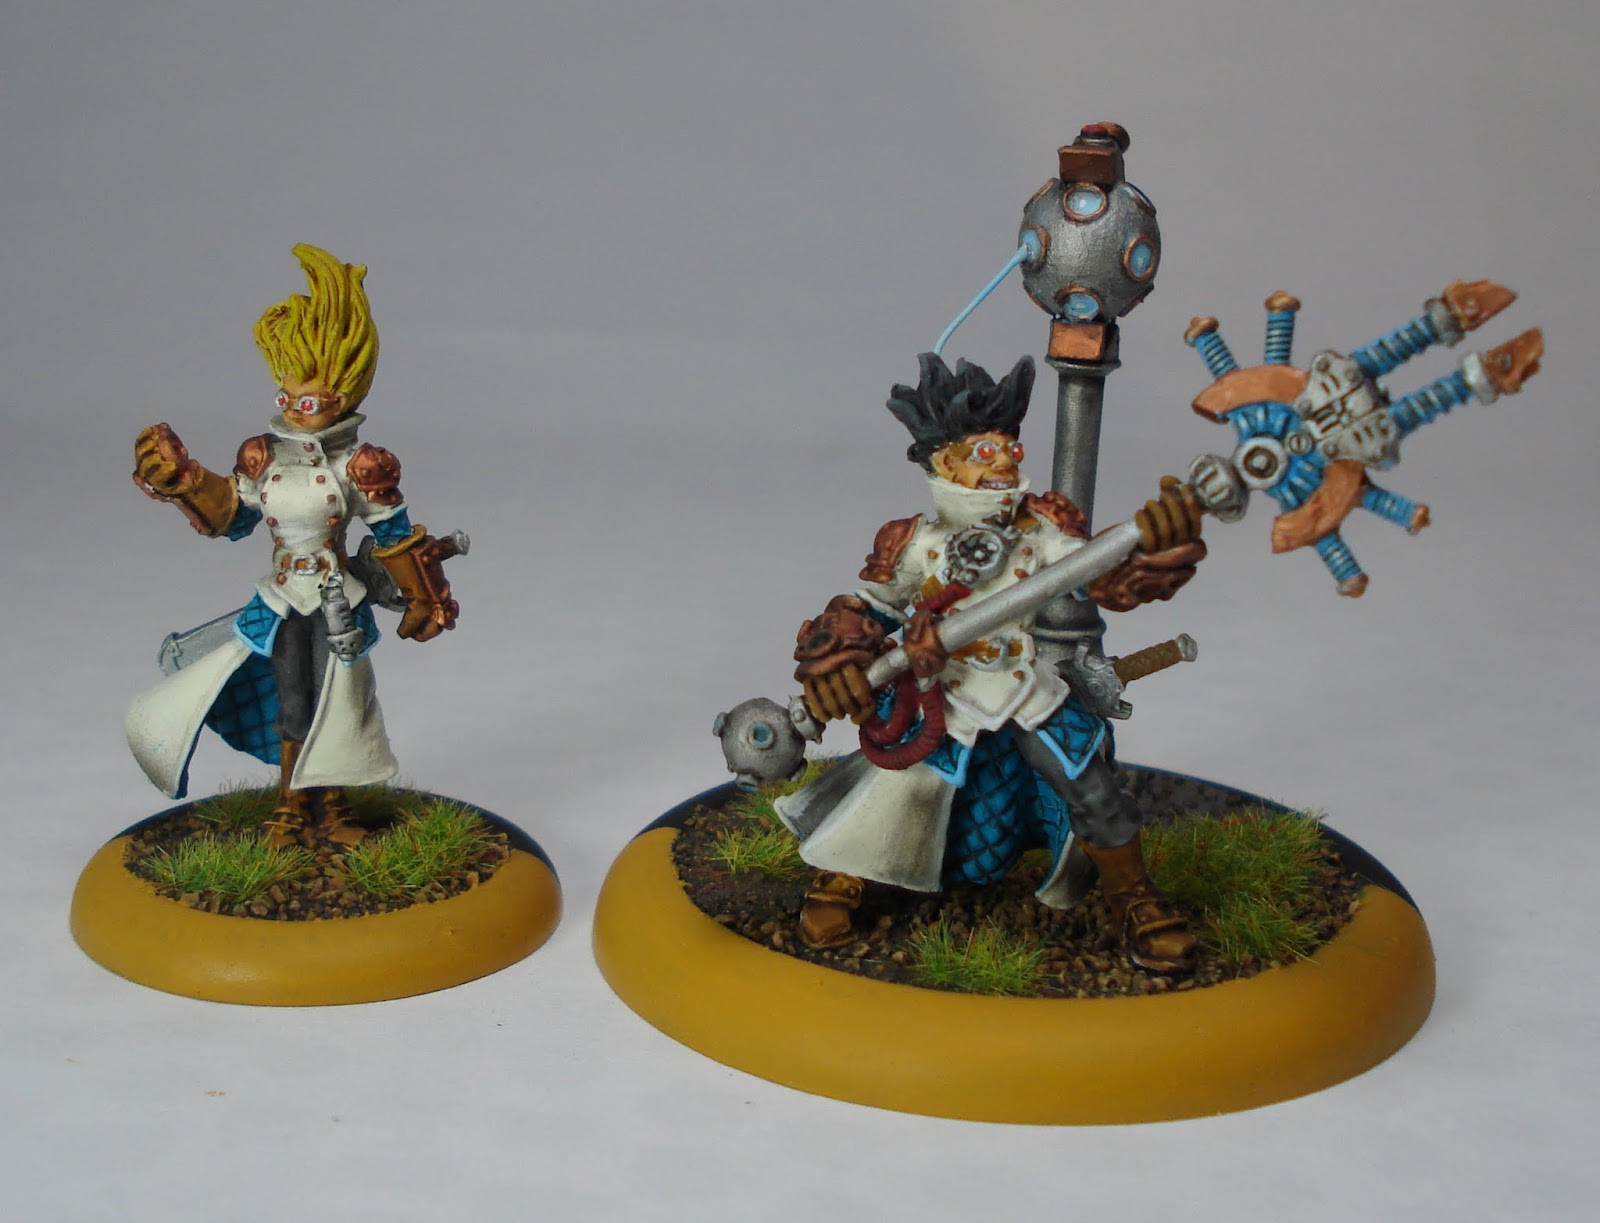
  • Captain Arlan Strangewayes, Arcane Mechanik - Cygnar Solo


Finished Miniatures


  • Commander Coleman Stryker - Cygnar Warcaster
  • The Black 13th Gun Mage Strike Team - Cygnar Character Unit
  • Stormguard - Cygnar Unit
  • Hunter - Cygnar Light Warjack
  • Journeyman - Cygnar Solo
  • Charger - Cygnar Light Warjack
  • Cyclone - Cygnar Heavy Warjack
  • Defender / Triumph - Cygnar Heavy / Character Warjack
  • Squire - Cygnar Solo
  • Reinholdt Gobber Speculator - Mercenaries Solo
  • Lancer - Cygnar Light Warjack
  • Thunderhead - Cygnar Character Heavy Warjack
  • Major Markus "Siege" Brisbane - Cygnar Warcaster
  • Stormsmith Storm Tower
  • Sword Knights - Unit Box
  • Storm Strider - Cygnar Battle Engine
  • Ol' Rowdy - Cygnar Character Heavy Warjack
  • Lieutenant Allister Caine - Cygnar Warcaster


MALIFAUX


Purchased


  • Stiched Together (2) - Neverborn Minion
  • Daydreams (3) - Neverborn Minion
  • Coppelius - Neverborn Minion
  • Malifaux Cherub - Neverborn Minion


Assembled


Work in Progress


  • The Dreamer - Neverborn Master


Finished Miniatures


  • Teddy - Neverborn Minion
  • Doppelganger - Neverborn Minion
  • Baby Kade - Neverborn Minion
  • Lord Chompy Bits - Neverborn Master

Sunday, June 17, 2012

From Zero to Hero: Ltd. Allister Caine - Cygnar Warcaster

 Hey guys,

just a quick one for you today. The moving-in with my girlfriend is taking form and that leaves me with very little time for the hobby these last few days. But expect it to pick up, once the move is over and I'm settled into my new home.

Preview of the finished miniature


Sunday, May 20, 2012

From Zero to Hero: Ol'Rowdy - Cygnar Character Heavy Warjack

Hey guys!

I've built Ol'Rowdy way back and finally decided it's time to slap some paint on him. This also gave me the chance to experiment a bit and giving Oil Washes a first try.

Preview of the finished model 

Wednesday, May 2, 2012

From Zero to Hero: Sword Knights - Cygnar Unit Box

Hey guys,

welcome to my quick tutorial on how I painted my Sword Knights. I experimented a bit on these figures and opted for a quick and dirty scheme, as I wanted to try my hand at speedpainting. All in all, the whole unit took me about 4 hours (excluding drying times) - and it shows, as the level of detail is much lower than the rest of my army to this point.

Preview of the finished unit.

Wednesday, April 25, 2012

Prep before Painting: Assembling and Pinning Ol'Rowdy - Cygnar Heavy Character Warjack

Hey you guys!

As with my Thunderhead Heavy Character Warjack, the assembly of Ol'Rowdy was quite difficult, compared to the Warmachine models I built up to this point. So I wanted to take my time in building this hunking piece of metal. I even did my first little conversion work on this one, which turned out really good in my opinion.

One piece of advice when assembling such a large figure:

ALWAYS DRY FIT ALL PARTS BEFORE APPLYING THE GLUE!

This saves you much hassle in the long run, trust me...

I started out with washing all the pieces in warm and soapy water to remove all the mould release agent and removing all the mould lines from the model with my hobby knife.

All the parts cleaned and ready for assembly

Sunday, April 22, 2012

From Zero to Hero: Stormsmith Storm Tower - Cygnar Unit

Hey guys,

it's been a while, since I posted my last step by step. But as I've been busy painting for the last few weeks, I was able to finish a few figures. So you can expect a few more painting tutorials in the future.

I'll be kicking this off with my Stormsmith Storm Tower, which was very fun to paint.

Preview of the finished models

Sunday, March 4, 2012

From Zero to Hero: Thunderhead - Cygnar Character Warjack

Hey guys,

since I had a bit time this weekend, I thought I could do a tutorial on painting the Thunderhead Cygnar Heavy Warjack. I had this one built for quite a while now. The article on how I assembled the model can be found here.

Preview of the finished Warjack.

Saturday, January 21, 2012

From Zero to Hero XIII: Major Markus "Siege" Brisbane - Cygnar Warcaster

Hey you guys,

I hope, that your year started off great. Today, I wanted to walk you through my painting process of painting Markus „Siege“ Brisbane, a Cygnar Warcaster.


Preview of the finished model

Monday, January 16, 2012

From Zero to Hero XII: Cygnar Warjack Wreck Markers

Hey guys,

this time I have something different for you. I recently got a new airbrush, an Iwata HP-C Plus and decided, that my new Cygnar Light and Heavy Warjack Wreck Markers where the perfect place to take it out for a spin.


Preview of the finished markers
My new baby :-)

Tuesday, December 13, 2011

From Zero to Hero XI: The Lancer - Cygnar Light Warjack

Hey Guys!

Today, I want to walk you through the process of painting a Lancer Light Warjack. My models up to this point where always very new and clean looking - and since I wanted to experiment with weathering anyway, this model was the perfect opportunity to start.

Preview of the finished model

Wednesday, November 2, 2011

From Zero to Hero IX: Stormguard - Cygnar Unit Box

Hey all,

I recently finished my first Warmachine Unit, the Cygnar Stormguard, and wanted to share how I did it.

First off, I painted two test-minis with two different approaches. The rest of the Unit was then done as a batch painting, as soon as I figured out the best way to go about it. This tutorial will cover both approaches, as well as the steps needed for the whole squad.

Saturday, October 15, 2011

From Zero to Hero VIII: Defender / Triumph - Cygnar Heavy / Character Warjack

Hey all,

in this tutorial, I will take you through how I painted my magnetized Defender / Triumph Warjack.  Special techniques I used where pre-shading, OSL and weathering.

I started priming the model with my airbrush with Vallejos Polyurethane Acrylic Grey Primer. After this was dry, I started pre-shading the whole model, using black in all the recesses and white on all the high spots. After the mini was shaded, I applied thin and even layers of my main color, Hawk Turquoise, making sure that the shadows and highlights would still be visible. The end result was a nice and even basecoat with clearly defined but soft shadows and highlights.

You have to be careful after applying your color with an airbrush, as the coat is very thin and delicate. For protection, I sprayed the whole mini with gloss varnish.

I then added Ivory on some armor plates of the mini, to tie it in with the rest of my Cygnar forces.

Preshading all done

Thursday, September 29, 2011

From Zero to Hero VII: The Hunter - Cygnar Light Warjack

Hey guys,

I finally came around to paint my Hunter Light Warjack - which build I detailed in one of my earlier posts. I started as usual, priming the model grey with my airbrush. and Vallejos Polyurethane Acrylic Grey Primer.

Primed

Sunday, September 18, 2011

From Zero to Hero VI: The Black 13th Gun Mage Strike Team - Cygnar Character Unit

Hey guys,

this time, I will cover painting the three minis from the Black 13th Gun Mage Strike Team. The build of these guys - or their captain to be exact, as the others are both one-piece casts - is very fiddly. Probably the most delicate figure I put together yet. Especially the gun wielding arm was a nightmare. Only with a bit of green stuff did I get the right hold.

The figures themselves have a lot of detail which is both a good and a bad thing. Each figure is fun to paint, but the details do stack up over time. To avoid the dreaded painters burn-out, I always did one of them, then another project, then another of these guys.

Monday, September 12, 2011

From Zero to Hero V: Charger - Cygnar Light Warjack

Hey guys!

Today, I want to talk you through painting the Cygnar Battle Box Charger Light Warjack. For this one, I first cleaned, washed and assembled the model.

As I wanted to experiment with my airbrush a bit, I wanted to try something new with this jack: pre-shading.

I first saw this technique on a tank tutorial over on BuyPainteds youtube channel and wanted to adapt the technique for my jack.

I primed the model grey and uses my airbrush to spray black into all the recesses. When this was done, I used white to set my highlights on all the raised areas, watching out not to lighten the already finished shadows.


Tuesday, September 6, 2011

From Zero to Hero IV: Commander Coleman Stryker - Cygnar Warcaster

Hey All,

it took a while, but I've finished my first ever Warcaster a few days back - Commander Coleman Stryker from the Cygnar plastic Battle Box. I took my time with this one to do him justice, and also tried out some things with him. First off, I primed and painted before assembly, as the figure has some nooks and crannies that are awfully hard to get to when assembled. I must apologize for the lack of pictures in this one, as my camera had a slight snafu and ate some of my WIP shots.

Saturday, September 3, 2011

Prep before Painting III: Pinning a Thunderhead Character Heavy Warjack

Hey guys,

today I want to walk you through how to pin a Thunderhead Character Heavy Warjack. I would highly recommend this method, if you're planning to play this piece. Every sort of heavy use will take its toll on the model if you're not careful during assembly - the model itself clocks in at about 185 grams of weight - don't underestimate it, it's a real beast. On the upside, I think this is one of the, if not the, most awesome figure I ever put together. The detail is stunning and the pose is really dynamic and looks great.

Tuesday, August 30, 2011

Prep before Painting II: Magnetizing a Defender / Triumph Heavy Warjack

Hey guys,

I've had the Triumph upgrade set for a while now, and didn't know if I wanted to build a Defender or a Triumph with the parts - but then I figured, why not magnetize the model, so I can play with both options?

First, I removed all the mold lines and overcast from the parts and then scrubbed them all in soapy water to wash off all the mold release powder - which was really heavy on this model.

All the necessary parts

Thursday, August 18, 2011

From Zero to Hero III: The Cyclone Heavy Warjack

Hey guys,

today I want to walk you through my painting process of the Cygnar Cyclone Heavy Warjack. I started off cleaning and assembling the figure. Because it is plastic and not metal, I didn't pin the model. Instead I used the superglue and green stuff method detailed here.

As my first ever Warjack, I wanted the pose of the mini to have a lot of character. The direction I was going in was an unstoppable juggernaut on the battlefield, mowing everything in front of him down in a hail of bullets, while slowly advancing.

Primed and ready for painting

Monday, July 18, 2011

From Zero to Hero II: The Journeyman Warcaster


Hey everyone,

today I will be covering the painting of the Cygnar Journeyman Warcaster. It´s a very nice model, although in my opinion with one or two flaws. For one thing, the sword looks more like a club as there is no real edge to it. And secondly, the posture made it very difficult to paint the left side of the face, as it was almost obscured by the armor.

But lets see, what we can make of this model.