A blog about my Warmachine and Malifaux forces,
and all other painting and hobby related subjects.
Enjoy and have fun, comments and criticism are always welcome!
unfortunately I've lost some pics of the Weaver Widow tutorial due to some HDD existence failure - but oh well, I hope you'll take something from it. And a small tip from me: always back up your data. I can't stress this enough. At least mirror all important files two times locally (on separate external drives) and once online. Then you can rest assured if something happens, you won't lose it all.
But onto the widow, one of the creepier sculpts I've seen so far in the world of Malifaux.
1. The prep
I started out using my Dremel to shave the contours of the shape of the dress of the mini into a premade resin base, so that it would be flush with the surface. For this, I used a sanding tool. which came with the Dremel set I purchased.
Easy and steady is the trick here, not to take to much off in one go. When I was satisfied with the fit I moved on.
For a secure fit, I used three pins in the bottom of the mini, so it would sit nice and safe.
I again used the Dremel to widen the holes for the arms, so that I could add some green stuff when I would assemble the mini.
I then mounted all the parts and got ready for painting.
2. The painting
I started out by priming the mini with Vallejos Polyurethane Grey Primer, as I wanted a neutral tone for my mini.
For the next steps, I made a small clip from the videos I could save:
As for the next steps:
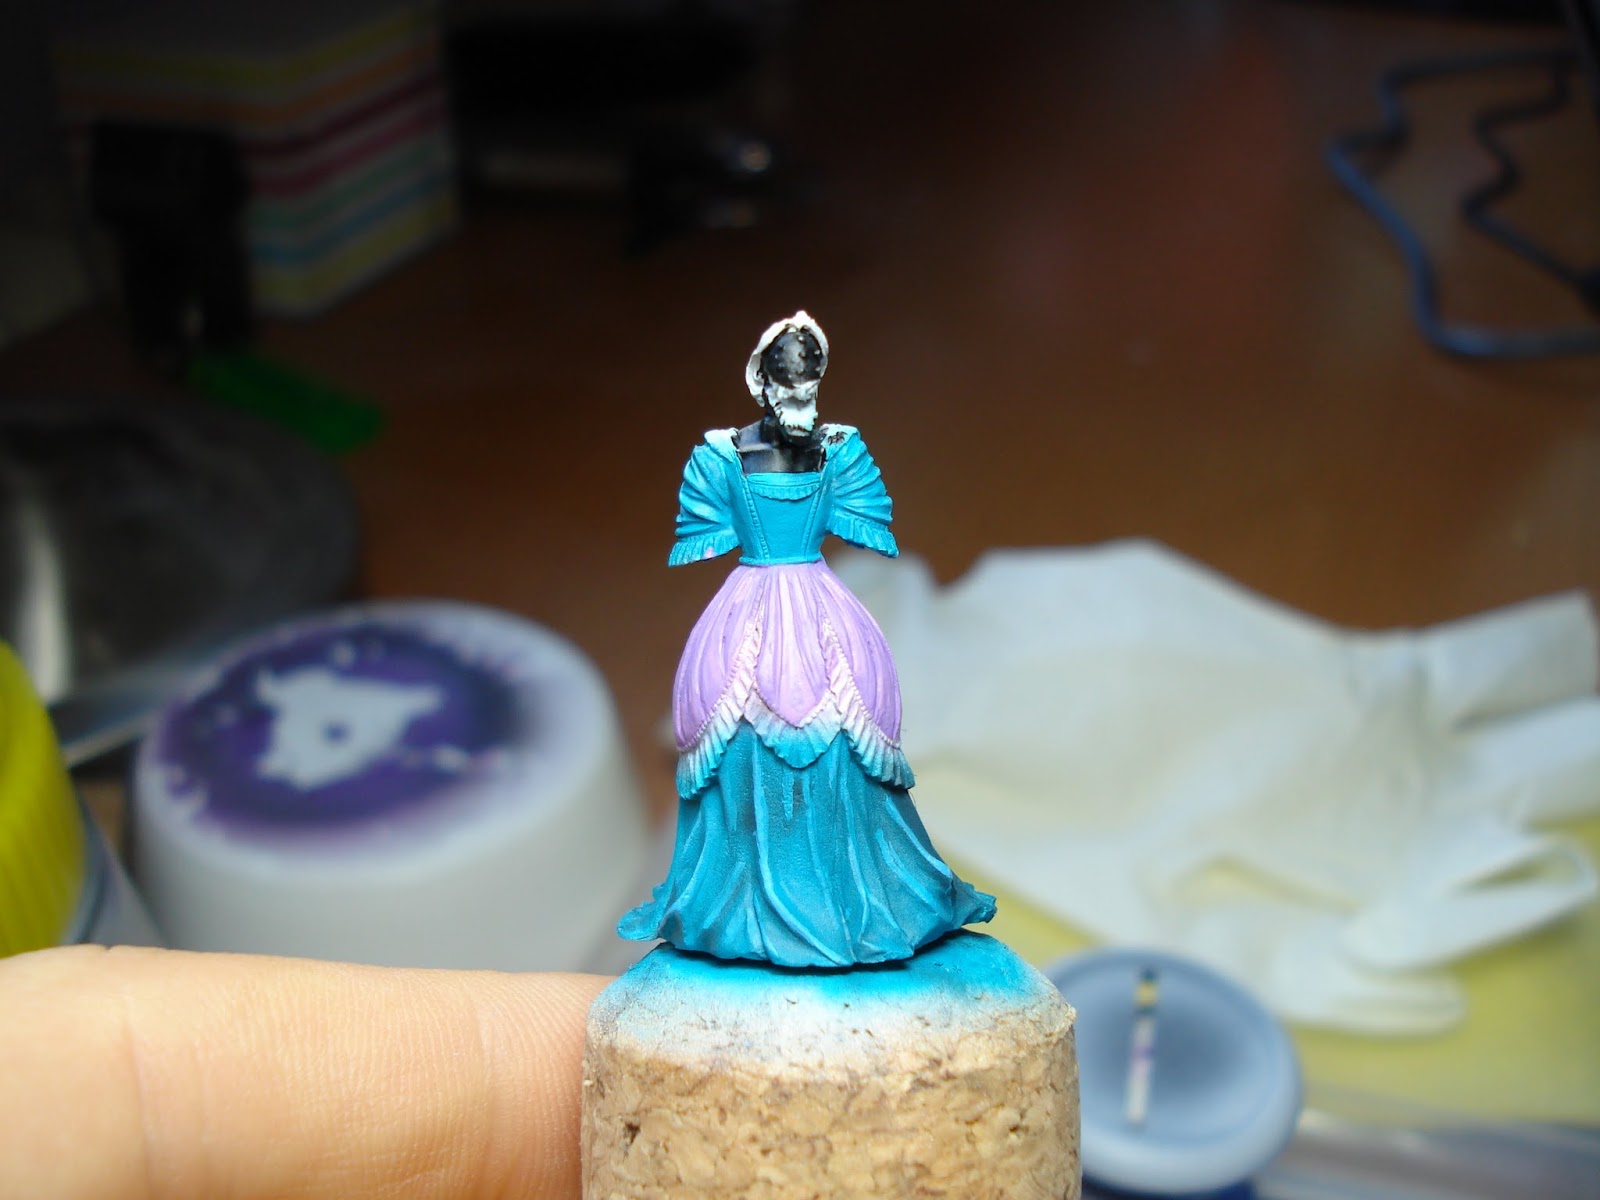
I basecoated the skin areas with black for a high contrast.
Then I painted the borders of the dress with a 1:1 mix of VGC Squid Pink and VGC Hexed Lichen.
The small accents on the dress where painted with VMV Ivory and the whole mini was given an oil wash with a very light grey, to bring out the details without toning the model down too much.
And now for some final shots of the model:
The painting on this one was very fun, but the assembly was a pain in the butt - the arms I only got on by using a combination of green stuff and superglue, so you can imagine how difficult it was.
For a final touch, I varnished the model with Matte Varnish and then gave the skin areas a coat of Satin Varnish, to make them appear chitin like.
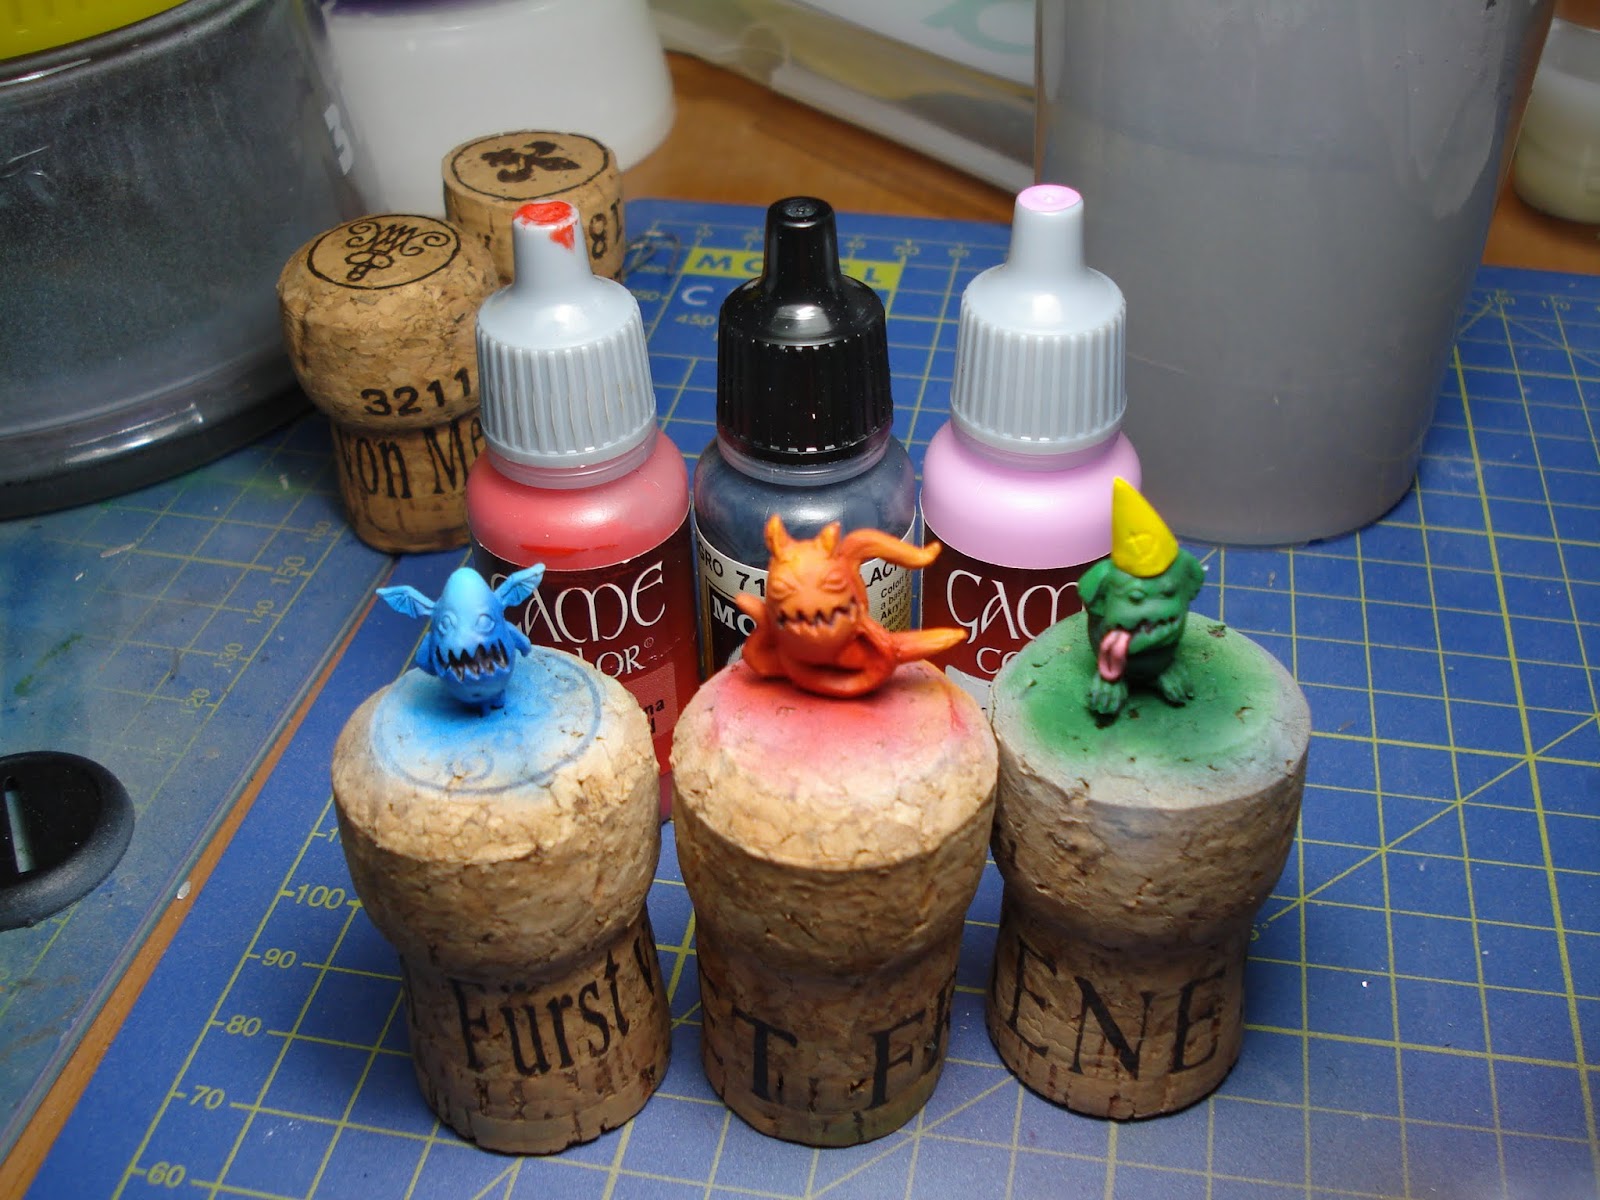
today I wanted to show you a simple way to paint the Neverborn Daydreams. I opted for an easy RGB color scheme, as that would really make them pop.
I started out priming them with Vallejo Polyurethane Grey Primer, as that would give the colors more vibrancy as when I would've used black primer.
I laid down the basecoats with my Infinity 2 in 1 CRPlus airbrush, using VGC Imperial Blue, VMA Red and VMA Olive Green
I highlighted the figures with VGC Ice Blue, VGC Orange Fire and VGC Sick Green.
For a nice contrast on the dunce cap, I masked of the figure and laid down a coat of VMA White, followed by two coats of VGC Sun Yellow.
The mouths were painted using a 2:1 mix of VMA Black and VGC Bloody Red, thinning the mix to almost a wash consistency, so it would flow nicely into the hard to reach areas. The tongue was painted with a 1:1 mix of VGC Squid Pink and VGC Bloody Red and shaded with the same mix I used on the mouths.
For added contrast, I painted the eyes on each model to stand out from the basecoat I used. Here I used VGC Scorpion Green, VGC Hexed Lichen and VGC Bloody Red.
The highlights of the eyes where done with VMC White, VGC Squid Pink and VMC Orange.
I decided to paint the bases and base inlays separately, as I want to achieve a more sombre town on the inlays and a more vibrant tone on the bases themselves.
Finally, I painted some details on the models, and glued them to the bases.
So there you have it, a really nice and easy paintjob which really helps to make these figures pop out on the table.
I hope you're having a great time with your families :-)
As for me, the Christkind was very kind this year and brought me something for my hobby:
The Vallejo Model Air Set, which comes in a really snazzy case.
I can't wait to try these paints out and will share my experiences with them. Especially the range of greens and browns is really impressive - and will come in really handy, when I'm painting my Malifaux Alps.
it's been a long time, but it was just crazy with work and preparations before the holidays. But hopefully I will find the time to update my blog more regularly in the future.
One thing I wanted to talk about today is an awesome Kickstarter a project I found and have been following for the last few weeks. I'm talking about the Kingdom Death: Monster board game.
The minis you get in this kickstarter are really something else and quite stunning. They remind me a bit of the Malifaux range in terms of creepiness. Especially the monsters are really quite something else. I've been pondering for a bit if I wanted to get in on this kickstarter. There are risks involved. You have to pay up front and will get the product late (November) 2013. Also the shipping costs of $45 for international orders are quite high.
That on the other hand you get so much for your money. The sweet spot so far seems to be the Herald of Death pledge which costs 300 bucks. But if you add the cost of the survivor deluxe pledge which is $155 with the international shipping which is $45 your almost 2/3 there already.
For a better sense of what this package contains, take a look at this overview.
All in all it is a really nice package with stunning miniatures for quite a reasonable sum. I haven't pledged so far because I still want to see what other goodies this kickstarter has to offer in the future. But I think it's a given that you get a lot of bang for your buck in this.
Especially from a painting perspective these miniatures to look really, really nice and I'm really looking forward to getting them on my painting table.