Showing posts with label Prep before Painting. Show all posts

Saturday, January 26, 2013

From Zero to Hero: Weaver Widow - Malifaux Neverborn Minion

Hey guys,

unfortunately I've lost some pics of the Weaver Widow tutorial due to some HDD existence failure - but oh well, I hope you'll take something from it. And a small tip from me: always back up your data. I can't stress this enough. At least mirror all important files two times locally (on separate external drives) and once online. Then you can rest assured if something happens, you won't lose it all.

But onto the widow, one of the creepier sculpts I've seen so far in the world of Malifaux.

1. The prep

I started out using my Dremel to shave the contours of the shape of the dress of the mini into a premade resin base, so that it would be flush with the surface. For this, I used a sanding tool. which came with the Dremel set I purchased.


Easy and steady is the trick here, not to take to much off in one go. When I was satisfied with the fit I moved on.


For a secure fit, I used three pins in the bottom of the mini, so it would sit nice and safe.


I again used the Dremel to widen the holes for the arms, so that I could add some green stuff when I would assemble the mini.


I then mounted all the parts and got ready for painting.


2. The painting

I started out by priming the mini with Vallejos Polyurethane Grey Primer, as I wanted a neutral tone for my mini.


For the next steps, I made a small clip from the videos I could save:


As for the next steps:

I basecoated the skin areas with black for a high contrast.
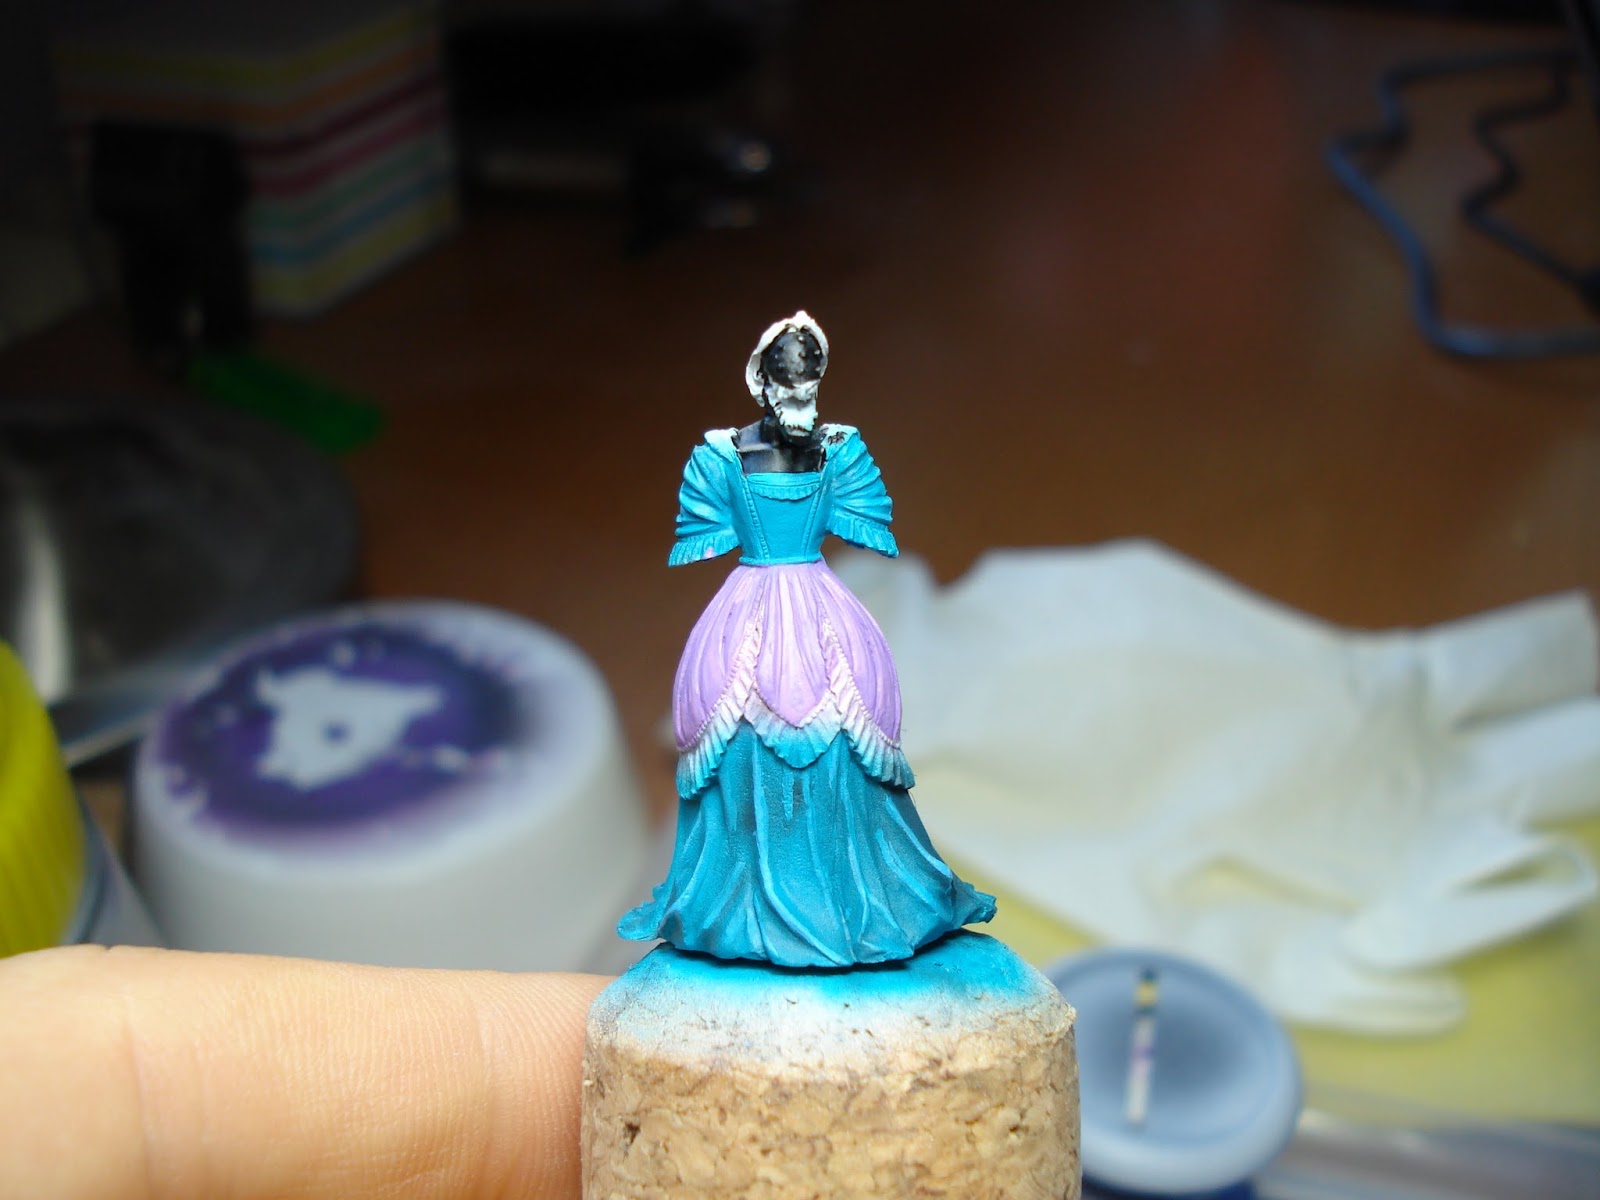

Then I painted the borders of the dress with a 1:1 mix of VGC Squid Pink and VGC Hexed Lichen.


The small accents on the dress where painted with VMV Ivory and the whole mini was given an oil wash with a very light grey, to bring out the details without toning the model down too much.


And now for some final shots of the model:


The painting on this one was very fun, but the assembly was a pain in the butt - the arms I only got on by using a combination of green stuff and superglue, so you can imagine how difficult it was.

For a final touch, I varnished the model with Matte Varnish and then gave the skin areas a coat of Satin Varnish, to make them appear chitin like.

I hope you like it,

Cheers!

Sunday, September 9, 2012

Worst Malifaux model so far: Coppelius

This will be kind of a rant...

Yesterday, I've built my Coppelius model. As I have to say this was one of the worst models I've ever built and the worst Malifaux model I've built so far.


What were they thinking, when they were designed this thing? The limbs are so thin, that any kind of pressure will bend the model. Worst of all, the limbs are so thin,  that pinning, is almost impossible. And trust me, you will need to pin  this model, as any kind of pressure will snap the glued parts right off, because connection points are just so damn tiny.

And because of the way this model is cast, the mold-lines are ridiculous. Hard-to-reach and all all over the details of the coat of the model, which made cleaning them up very difficult.

Sufficient to say, I won't be looking forward to painting this one up...

Wednesday, April 25, 2012

Prep before Painting: Assembling and Pinning Ol'Rowdy - Cygnar Heavy Character Warjack

Hey you guys!

As with my Thunderhead Heavy Character Warjack, the assembly of Ol'Rowdy was quite difficult, compared to the Warmachine models I built up to this point. So I wanted to take my time in building this hunking piece of metal. I even did my first little conversion work on this one, which turned out really good in my opinion.

One piece of advice when assembling such a large figure:

ALWAYS DRY FIT ALL PARTS BEFORE APPLYING THE GLUE!

This saves you much hassle in the long run, trust me...

I started out with washing all the pieces in warm and soapy water to remove all the mould release agent and removing all the mould lines from the model with my hobby knife.

All the parts cleaned and ready for assembly

Monday, March 12, 2012

Tools of the Trade - Working with Vallejos Polyurethane Primer

Hey guys,

after reading on DakkaDakka, that some of you have had some problems with Vallejos Polyurethane Surface Primer, I wanted to share my experiences with the product.


For this, I wanted to talk about the Primer itself, how to use it and most important, how to clean your airbrush afterwards.

Saturday, September 3, 2011

Prep before Painting III: Pinning a Thunderhead Character Heavy Warjack

Hey guys,

today I want to walk you through how to pin a Thunderhead Character Heavy Warjack. I would highly recommend this method, if you're planning to play this piece. Every sort of heavy use will take its toll on the model if you're not careful during assembly - the model itself clocks in at about 185 grams of weight - don't underestimate it, it's a real beast. On the upside, I think this is one of the, if not the, most awesome figure I ever put together. The detail is stunning and the pose is really dynamic and looks great.

Tuesday, August 30, 2011

Prep before Painting II: Magnetizing a Defender / Triumph Heavy Warjack

Hey guys,

I've had the Triumph upgrade set for a while now, and didn't know if I wanted to build a Defender or a Triumph with the parts - but then I figured, why not magnetize the model, so I can play with both options?

First, I removed all the mold lines and overcast from the parts and then scrubbed them all in soapy water to wash off all the mold release powder - which was really heavy on this model.

All the necessary parts

Sunday, August 7, 2011

Prep before Painting I: Assembling a metal Warjack


Hey guys,

in this post, I will be covering how to assemble a metal Cygnar Hunter Light Warjack. Because of the build of the model, it lends itself to an assembly approach, where you don't need pinning for an effective bond. Instead, I will be using just superglue and a bit of green stuff to put the mini together.