today I want to walk you through how to pin a Thunderhead Character Heavy Warjack. I would highly recommend this method, if you're planning to play this piece. Every sort of heavy use will take its toll on the model if you're not careful during assembly - the model itself clocks in at about 185 grams of weight - don't underestimate it, it's a real beast. On the upside, I think this is one of the, if not the, most awesome figure I ever put together. The detail is stunning and the pose is really dynamic and looks great.
The Materials
Things I used for this project:
Filla-Glu Clear
Pinning materials - I used the larger rods of the Galeforce 9 pinning set and the corresponding drill-bit
Red Paint
Electric drill - much easier to drill the metal than with a pin-vice
Pliers to cut the pinning rods to size - a normal cutter wont do, because the rode are brass and over 1mm thick
The Assembly
I started out cleaning all mold lines off of the parts and washed them with warm and soapy water to remove all mold release agent. Then I dry-fitted all the parts and filed and corrected where it was necessary.
I first wanted to assemble the torso of the figure, because then I would have an idea of the heft of the model. Also, I wanted to work on the bigger parts first to gain confidence in working with the drill, which I hadn't done in a while. When using the electric drill always drill pilot holes with your pin-vice. This gives the electric drill some guidance and makes this task much easier.
I decided to use 1 pin to connect the middle of the torso to each shoulder-part. With the Filla-Glue, which has an unbelievable tough bond, this one pin would be enough to support the parts. I first drilled in one holes in one of the shoulder parts and fitted the pin. I secured the pin with superglue when I was satisfied with its position. I then added a dab of red paint to the end of the pin and dry-fitted the parts again, taking care to press the red pin onto the other part to get an idea where to drill the second hole.
 |
| The marked and drilled middle part of the torso |
 |
| The two parts pinned and fitted |
 |
| The main body assembled |
I started on pinning the leg and body sections together as soon as the parts had had time to cure. I drilled a few holes now, one in thigh, one in the bottom of the torso part, and two in the feet. I decided to attach the feet to the base first so I just could set the torso part down on it later.
 |
| Holes drilled |
 |
| Pins added |
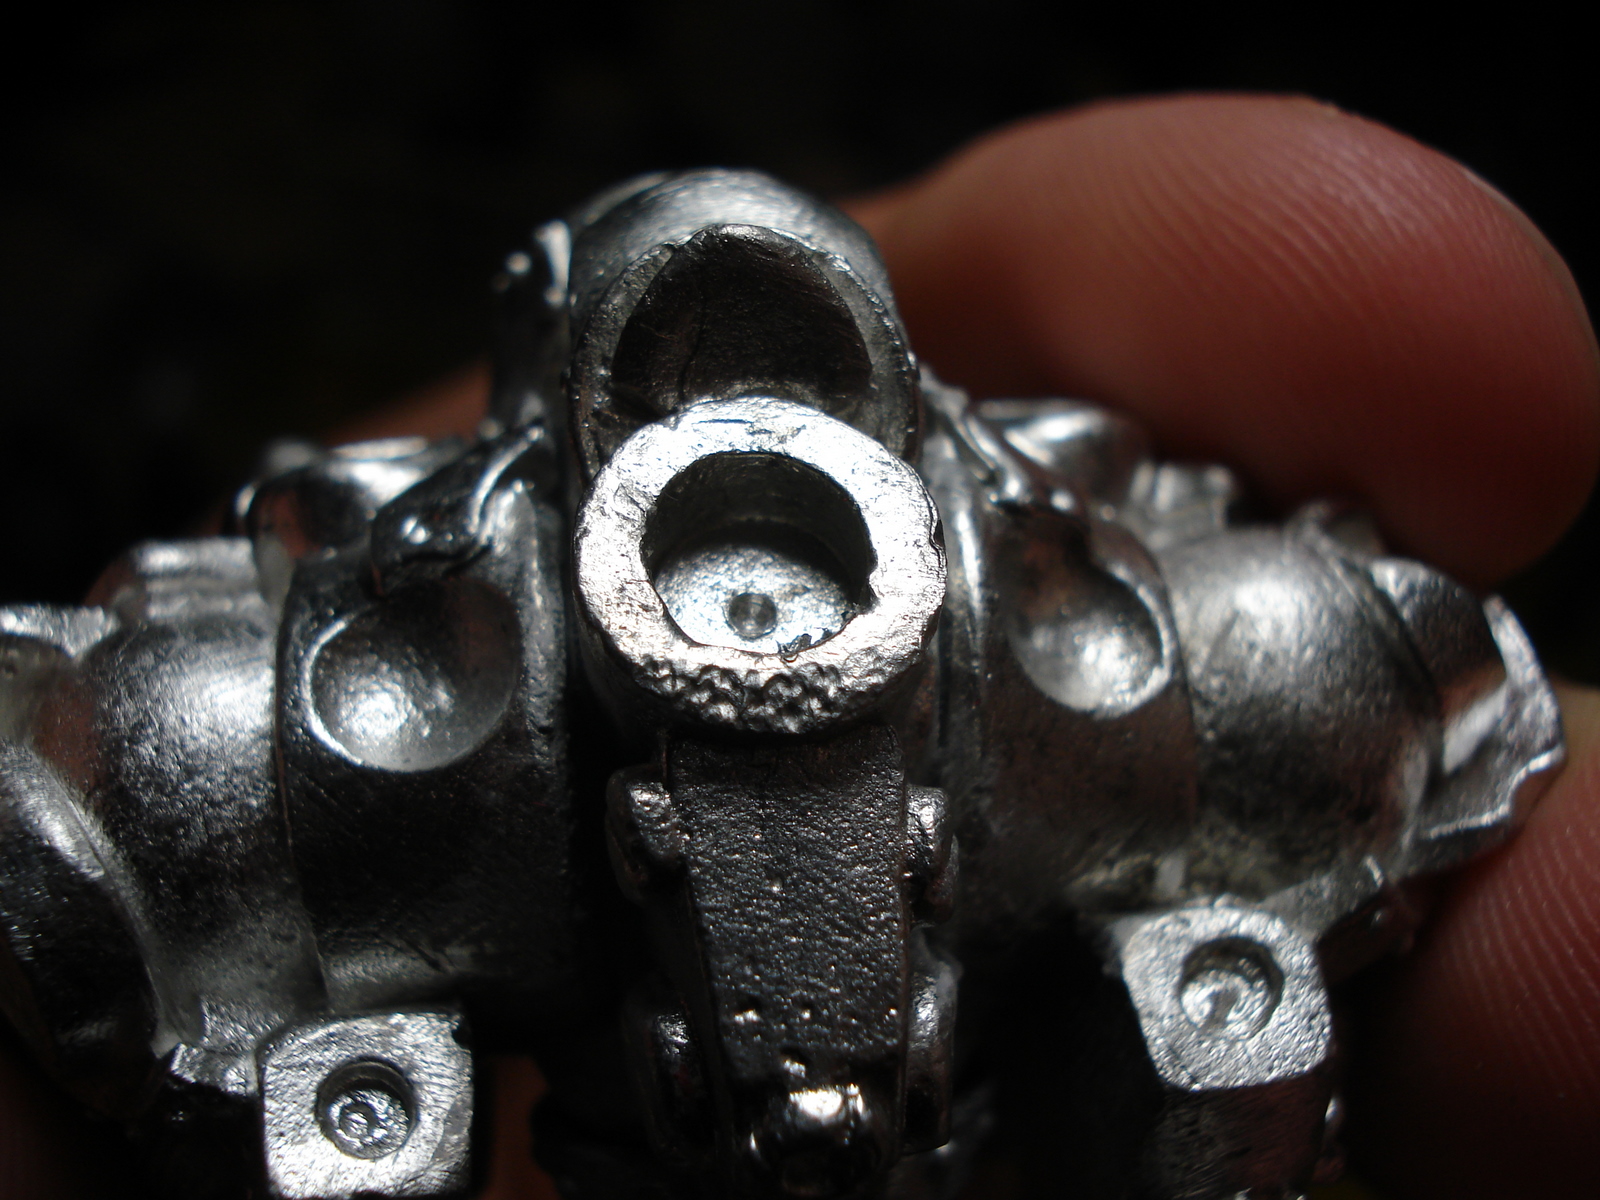 |
| The pilot hole in the bottom of the torso part |
 |
| The hole in the bottom of the torso completed |
 |
| The pin is glued into the thigh |
 |
| The two main parts connected |
 |
| Arms pinned |
 |
| All pinning done! |
I hope this might convince some of you to tackle the challenge of building this awesome model. Personally, I can't wait to get started with the painting :-).

As always, enjoy and have fun,
IK-Painter
0 Kommentare:
Post a Comment