Hey you guys,
I hope, that your year started off great. Today, I wanted to walk you through my painting process of painting Markus „Siege“ Brisbane, a Cygnar Warcaster.
 |
| Preview of the finished model |
I cleaned the mini, removing all flash and mold lines - which was especially difficult on the head of the maul, because of the curve in the piece. I decided to paint the figure before assembling all the pieces, because that would have made it much harder, as some areas would have been obscured.
I also gave the cleaned pieces a thorough scrub with a brush and soapy water, so all the mold release agent would be gone before I started painting - If you skip this step there is a chance, that your paint and primer won‘t adhere well to the miniature.
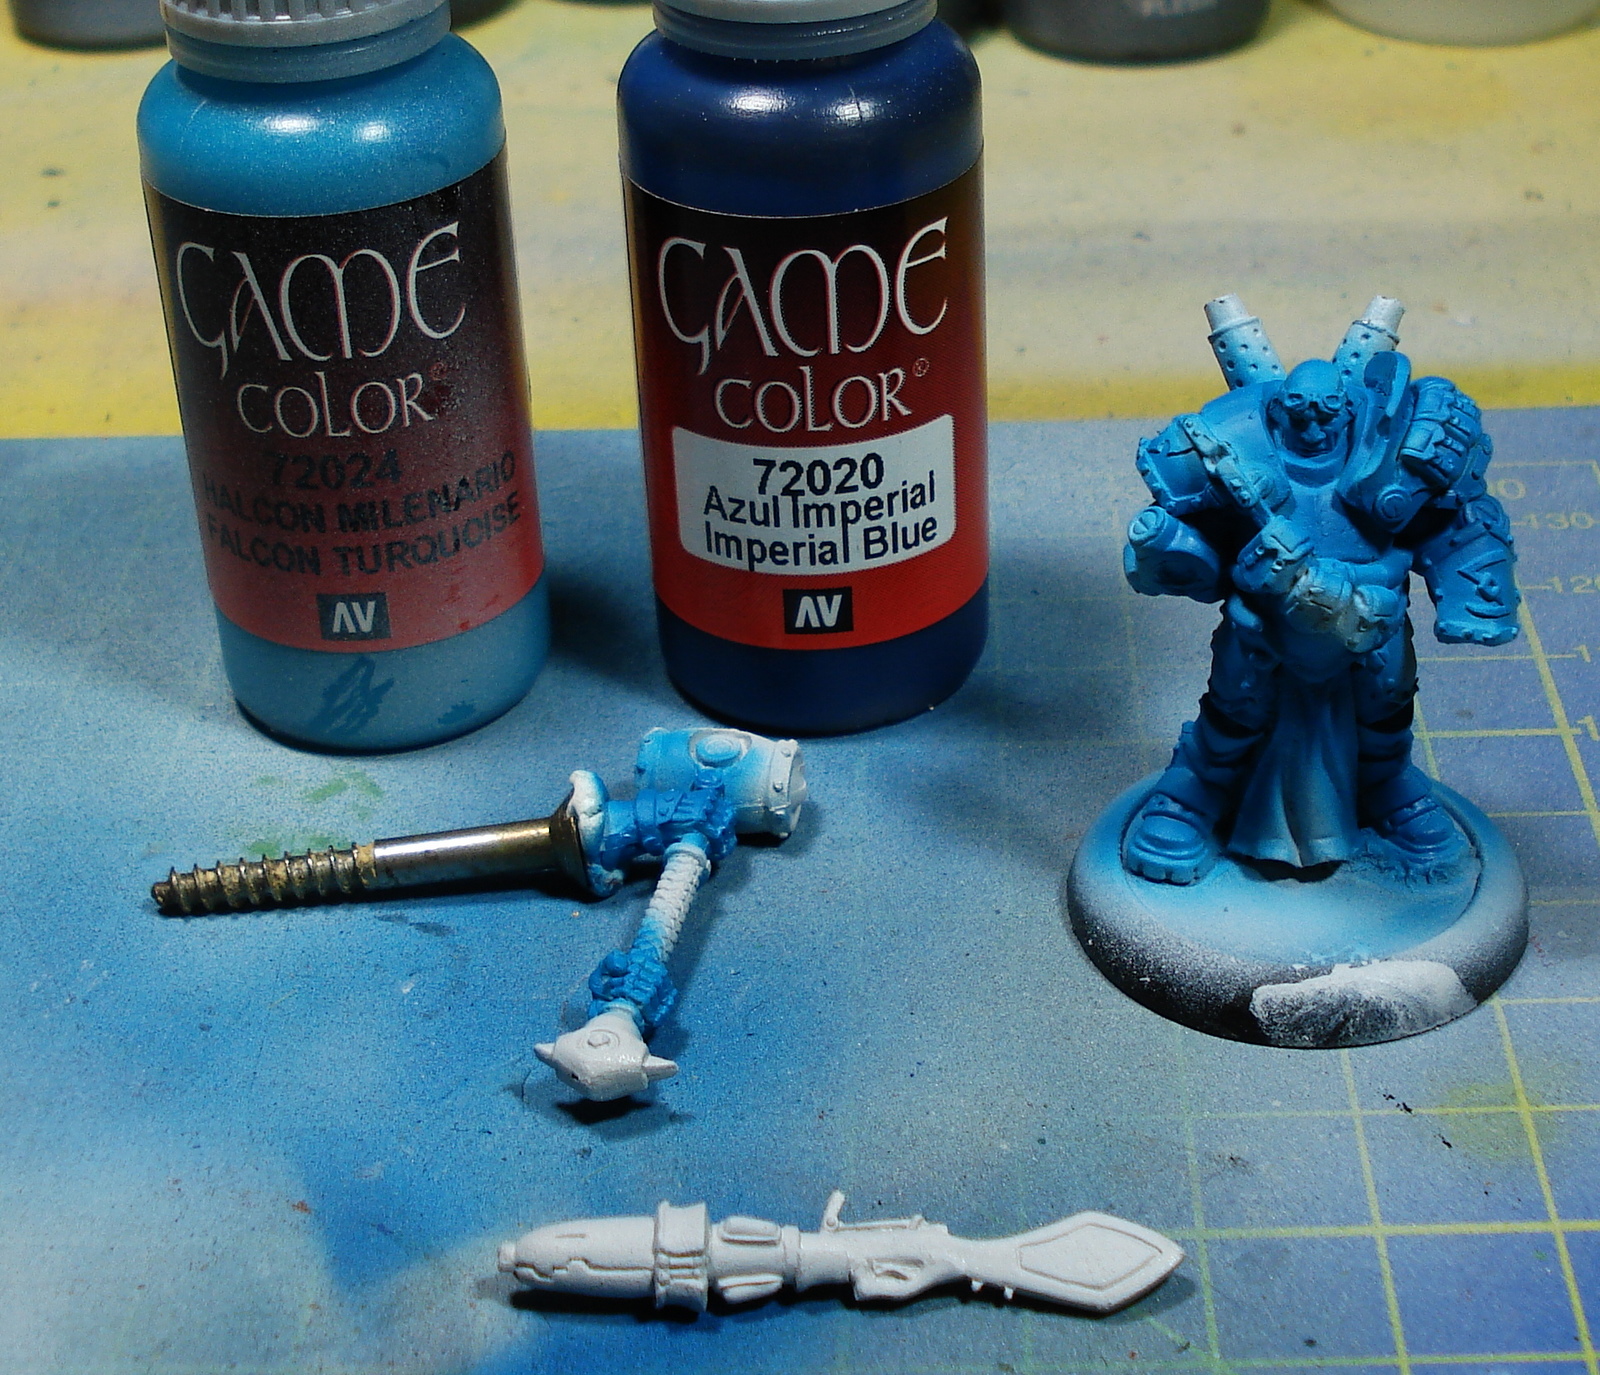
I started the painting process with my airbrush, priming all the pieces with Vallejos Polyurethane Acrylic Grey Primer. I opted for the zenithal highlighting technique, for smooth shadows. For this, I gave the whole mini a coat of a 2:1 Mix of Chaos Black and Hawk Turquoise for my shading color. I then dusted the mini from a 45° angle from above with Hawk Turquoise, leaving the darker color on all the downward facing surfaces. For my highlight, I used a 1:1 mix of Hawk Turquoise and Electric Blue, dusting the mini from an even steeper angle, hitting only the raised surfaces. Finally, I sealed my airbrush work with Vallejo Polyurethane Gloss Varnish.
 |
| Shadow-Color |
 |
| First Zenithal highlight |
 |
| Second zenithal highlight |
 |
| Protective coat |
Next, I started working on the cloth. I basecoated the parts with a 1:1 mix of VGC Stonewall Grey and VMC Ivory. I laid the color down thick, as I wanted to wetblend the next color, pure VMC Ivory. For a highlight, I used 2-3 thin coats of Skull White, only on the raised surfaces and the bottom of the cloth - the areas, that light would hit.
 |
| Cloth basecoated |
For the silvery metal areas, I used Vallejo Liquid Gold Silver and for the ornate metal parts Vallejo Liquid Gold Copper. I then washed the silver areas with Heavy Body Black Wash for a used and grimy look. The cooper areas where washed with Ogryn Flesh and then highlighted with Vallejo Liquid Gold Red Gold.
 |
| Metals WIP |
 |
| Ornate metals washed |
I decided for a very dark skin tone for the model, which was a first for me. As a basecoat, I used VMC Chocolate Brown, which was lightened up with each coat with VGC Snakebite Leather, concentrating on the raised areas. As a last step, I washed the whole face with two coats of thinned Devlan Mud, to tie all the colors together.
 |
| The skin pre-wash |
Next where some of the details on the miniature. I hard edge highlighted all upwards facing edges on the armour with a thin line of VMC Sky Blue, which really made those areas pop. Be careful to only use the side of the brush when highlighting the edges, as you have much more control over your brushwork this way. The goggles where basecoated with VGC Bloody Red, with a small line of VGC Orange Fire for some definition. A reflective dot was then added with Skull White.
 |
| The goggles - eyes to be corrected later |
 |
| Armor hard edge highlighted |
The leather parts where done with a 1:1 mix of VMC Leather Brown and VGC Snakebite Leather, which where then washed with Devlan Mud and highlighted with VMA Steel. The same color was used on all the rivets of the armor.
 |
| Leathers basecoated... |
 |
| ...and washed |
The head of the battle hammer was painted with a very slight OSL effect,
which I achieved by painting many thinned, gradually darker the farther
I got from the source of the light, layers. The area nearest to the
source, was hardedge highlighted with a 3:1 mix of Skull White and VMC
Sky Blue, to represent the brightest reflection which is next to the
light source. The rest of the Hammer was basecoated with Liquid Gold
Silver and was given a light wash with Soft Body Black wash to bring out
the detail. I made two attempts, which weren't all that good, before I
was satisfied with the third attempt.
 |
| 1st try |
 |
| 2nd try |
 |
| 3rd and final try |
When all the parts where finished, I assembled the figure with one of my newest purchases, Gorilla Superglue. The basing was done the same way, as all the rest of my minis in the From Zero to Hero section.
 |
| The finished miniature. |
All in all, this was a very nice figure to paint and gave me quite a few challenges during the painting process. I hope you liked this small step by step!
As always, enjoy and have fun,
IK-Painter


What about coming to the Northern Rivers area? Lismore Ballina area.
ReplyDeleteAllan Zadeh